It is a tradition in my house to make Easter eggs every year! I have always loved any sort of arts and crafts, so this has always been something I look forward to doing. We used to buy the kits that come with the dye tablets and plastic wraps that you shrink on with boiling water. Those are awesome, but we have come up with a fun method that uses materials we always have on hand! All it takes is some regular crayons, food colouring, and vinegar.
So before any of the decorating can commence you need to hard boil your eggs. I made 14 eggs just in case some of them cracked during the boiling process (which two did). I added my eggs to a pot, covered with water, and brought them to a boil. Once boiling I lowered the temperature to medium-low and timed out 12 minutes. Once they were done, I placed them in a bowl of ice water.

Next I boiled a kettle of water, and decided I would be making 3 different colours of eggs. I chose hot pink, bright blue, and yellow. I used regular food colouring and the instructions that they recommend on the package with some adjustments.
For the yellow I used one mug about 2/3rds the way full with boiling water, I added 1.5 tsp of regular white vinegar, and 35 drops of yellow dye.
For the hot pink I used the Neon pack of dye, same amount of water, same amount of vinegar, 10 drops of neon pink, and 3 drops of neon purple.
For the bright blue I used the Neon pack of dye, same amount of water, same amount of vinegar, 9 drops of neon blue, and 3 drops of neon green.
You can really make any colour you want and play around with the dye mixtures. I suggest sticking to around 10 drops of darker dyes, mixed with 3 drops of a lighter/brighter colour (ex. blue + yellow, red + yellow, green + yellow). Or perhaps just 15 drops of a dark colour alone, and then 25-35 drops of a light colour alone.
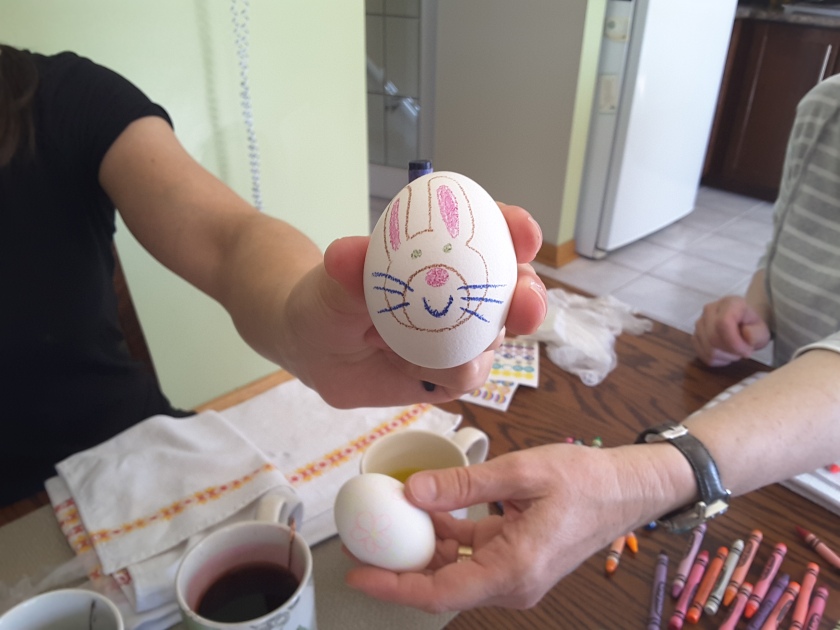
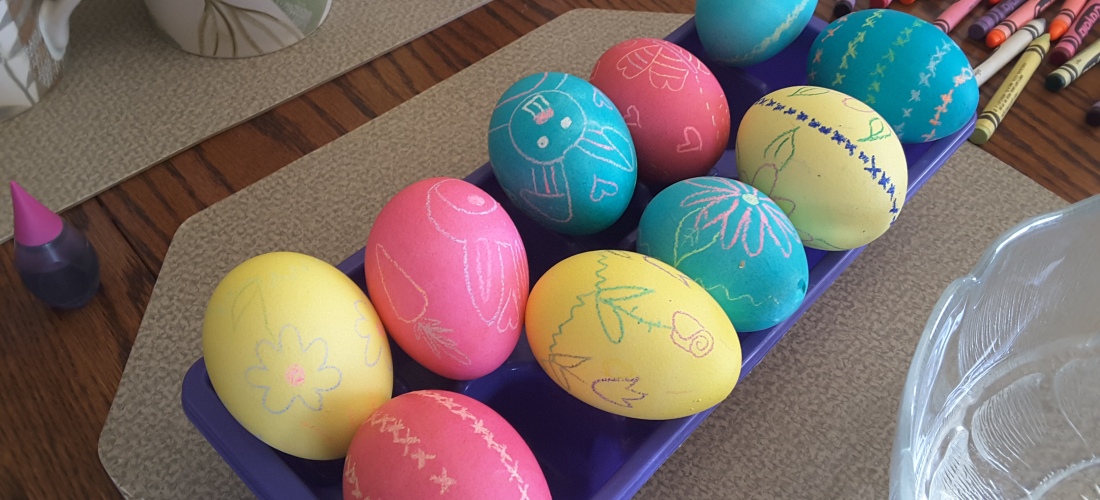
Next you take the egg you are ready to decorate out of the ice water and dry it off with a towel. Then you take some crayons and draw on the designs that you would like. The wax of the crayons prevents the dye from dyeing that area of the egg and your drawing really stands out. I find what works best is using crayon colours that are very different from the dye you are going to use. So for my yellow eggs I used darker crayons, and for my pink and blue eggs I tried to stick with the neon crayons (which always work quite nicely on darker dyes).
When you are done drawing, you drop your egg into your mug of dye, and let it sit for a few minutes. Doesn’t really matter if you leave it for too long, I usually just check on it and take it out when I am ready to put the next one in.
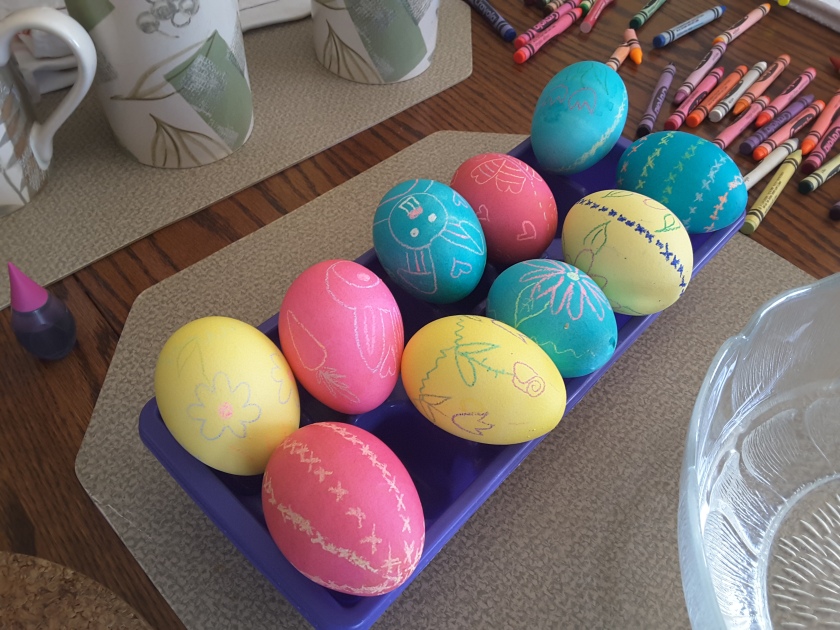
When you take the egg out of the dye, you just need to dab it off with a paper towel and let it sit to dry. I put on a rubber glove to pick them out of the dye since is pretty staining to your fingers – I have learned from previous years 😉 I sat my eggs on an ice cube tray to dry. In previous years I have just placed them back in their egg carton to later place in the fridge.
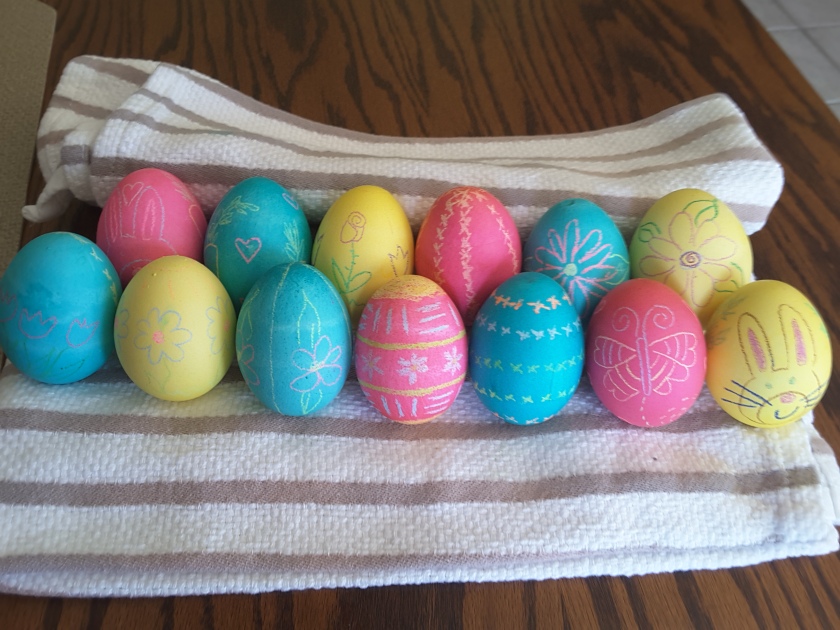
And that’s all it takes to make some beautiful easter eggs! This is a super kid friendly method and is so fun to do! You can even make each family member one by drawing each person’s name on!
I really hope you try it out! 🙂
Enjoy,
Catherine xo
